In this article, we’ll explore the art of painting old furniture—how to choose the right colors, prepare surfaces for a flawless finish, and unleash your creativity to infuse character into each piece. Join us on a journey of renewal as we delve into the steps and techniques that can not only revitalize your furniture but also inspire a vibrant and personalized atmosphere in your home.
When does coloring make sense?
- Updating the furnishings in the country is a necessary task as many country sets feature outdated furniture in diverse styles and colors. Renovating these pieces can contribute to cohesive and aesthetically pleasing decor, enhancing overall comfort.
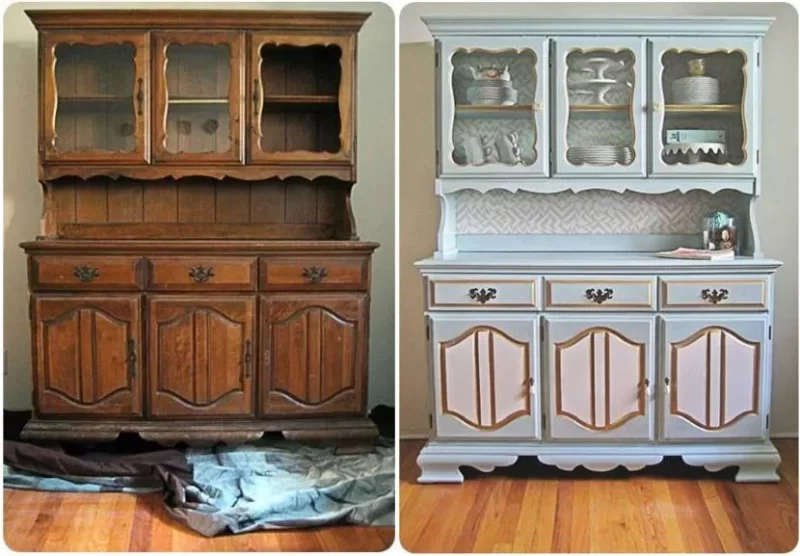
- Although the thought of throwing out old furniture is regrettable, numerous sets from the old era, although sturdy and durable, have an outdated appearance with surfaces that have lost their appeal over time. Carrying out restoration and painting, possibly changing the color, becomes a viable solution to extend the service life of these durable products and give them a modern aesthetic.
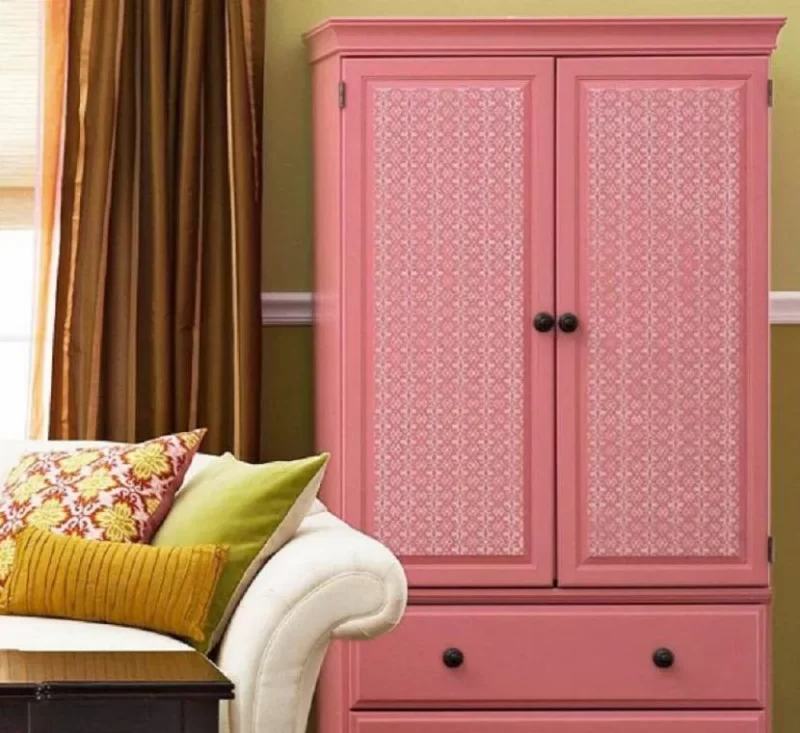
- Inheriting a vintage chest of drawers or a rare wardrobe can add character to a home. Despite imperfections, antique furniture holds value for its authentic charm, often surpassing the refinement of contemporary pieces. Skillful restoration has the power to completely transform these old items into stunning additions to any living area or bedroom.
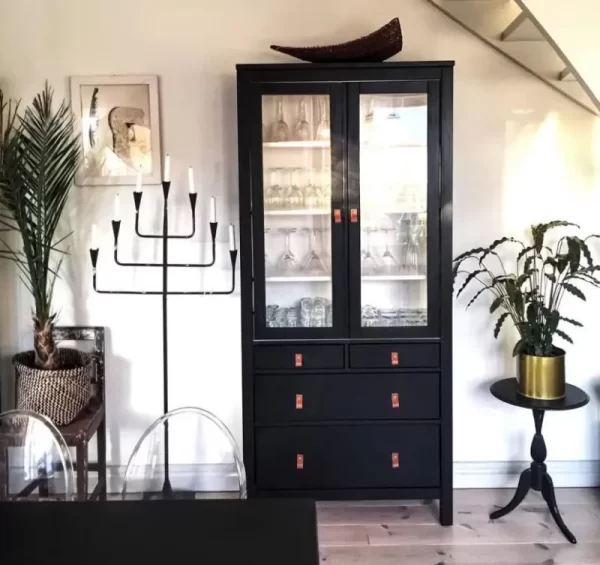
- For those not ready for a comprehensive repair, refreshing the interior through targeted adjustments is an excellent compromise. This might involve painting one wall in a different color to serve as a highlight, investing in new lighting and textiles, or focusing on repainting the furniture itself. Choosing a fresh and sometimes unexpected hue, like transforming a brown cabinet into a white or olive masterpiece, can work wonders in revitalizing the entire room.
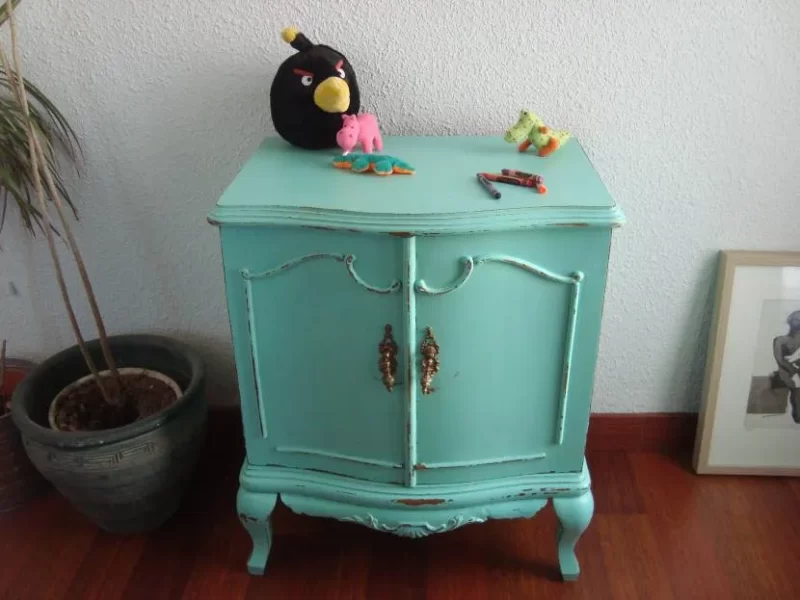
- If changing the overall style is the goal, employing techniques such as artificial aging of facades, inspired by Provence or shabby chic aesthetics, offers a unique approach. Through specific painting techniques, a cabinet or chest of drawers can be transformed into an antique-looking piece with noble cracks and intricate detailing, adding a touch of timeless elegance to the living space.
What we paint: getting ready for the process

All the following steps throughout the preparation process:
1. Mold Drying and Elimination:
- Ensuring the wood is dry is crucial for proper paint adhesion. If an old cabinet has been stored in a barn for many years, addressing mold is essential. Mold-affected areas on the surface are cleaned with water, dried thoroughly, and then sanded. Finally, an antifungal treatment is applied to the wood, encompassing the surrounding areas.
2. Knot Sealing:
- Knots are a common issue in new wood, as they release resin that can hinder paint adhesion. Using a spatula, the resin is scraped away, and a technical hairdryer can be employed to warm up the knot’s location. Subsequently, the area is treated with a cellulose (or ammonia) solvent and sanded using sandpaper.
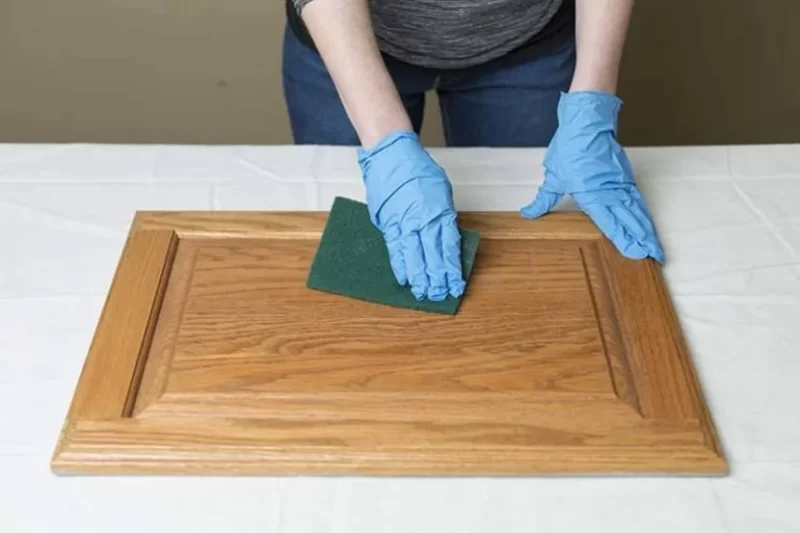
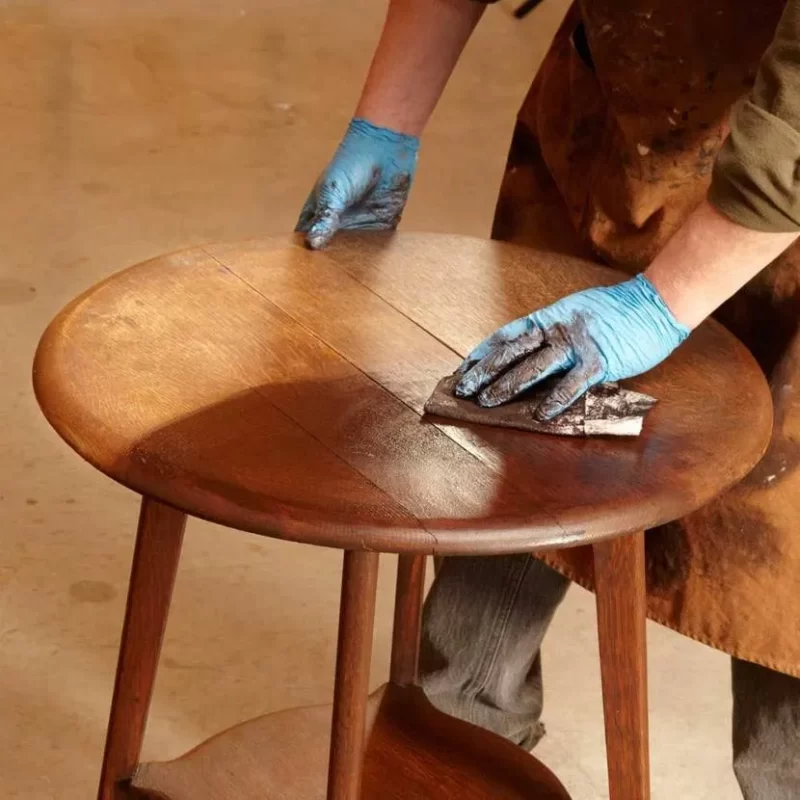
- Removing the existing coating involves using sandpaper to eliminate varnish, paint, or other finishes still visible in certain areas. If the coating is damaged or peeling, a professional hairdryer can be used to heat it, followed by scraping with a spatula. Utilizing a paint coating removal preparation can pre-soften the varnish.
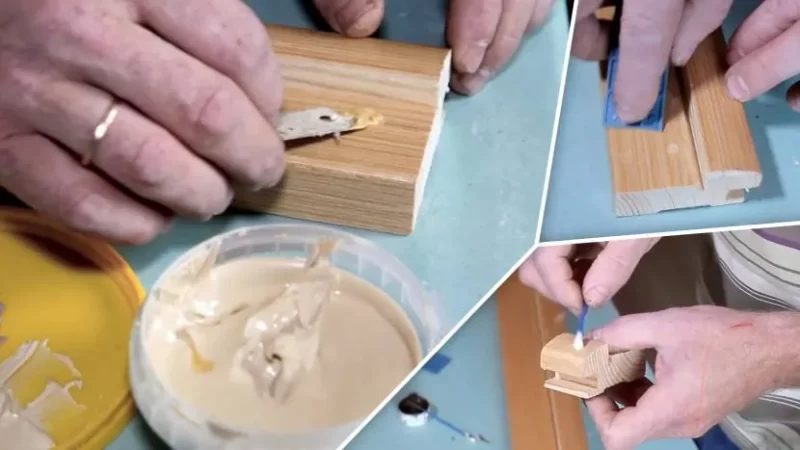
- The application of putty is necessary for leveling the surface and addressing chips and fissures. Water-based specialty wood putty is ideal for correcting imperfections, and the application site is meticulously sanded with fine-grained sandpaper.
- To ensure the wooden surface is ready for painting, degreasing is essential. It should not only be dry and smooth but also free from grease stains or resin traces. Using extraction gasoline or a nitrous solvent helps in washing off any dirt.
- Applying a primer is a crucial step as it reduces paint consumption, prevents excessive absorption into the wooden base, and enhances the adhesion of subsequent layers. Before applying the primer, whether it’s a colorless primer for wood or drying oil, the surface is thoroughly cleaned with a brush or vacuum cleaner.
What is the best way to repaint furniture
A variety of colors
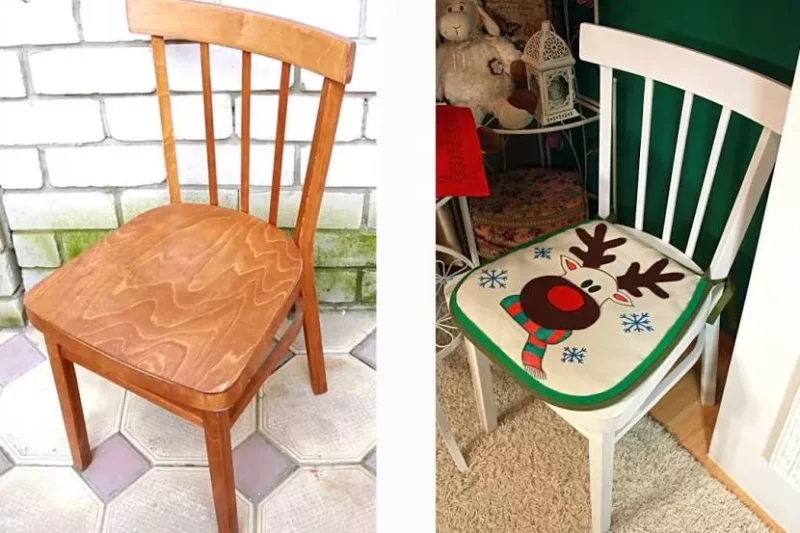
- Acrylic paints, commonly matte and closely resembling natural hues, are a popular choice for furniture. Opting for a water-based acrylic formulation is ideal for those seeking to learn how to spray-paint chipboard furniture white. This option is odorless, dries rapidly, and poses no negative health effects. Choosing a composition with high adhesion specifically designed for painting chipboard is crucial, and it is advisable not to dilute it with water.
- Alkyd enamel, known for its safety, affordability, and long-lasting properties, provides a quick-drying surface with a glossy finish. If furniture includes metal components, alkyd enamel prevents rusting, and it features a distinctive new paint fragrance.
- Latex, a water-based paint with artificial latex in its composition, is environmentally friendly, UV-resistant, and quick-drying (within an hour). This composition is often used for veneer furniture restoration. However, it comes with a higher cost and requires meticulous surface preparation before application.
Principles of paint selection
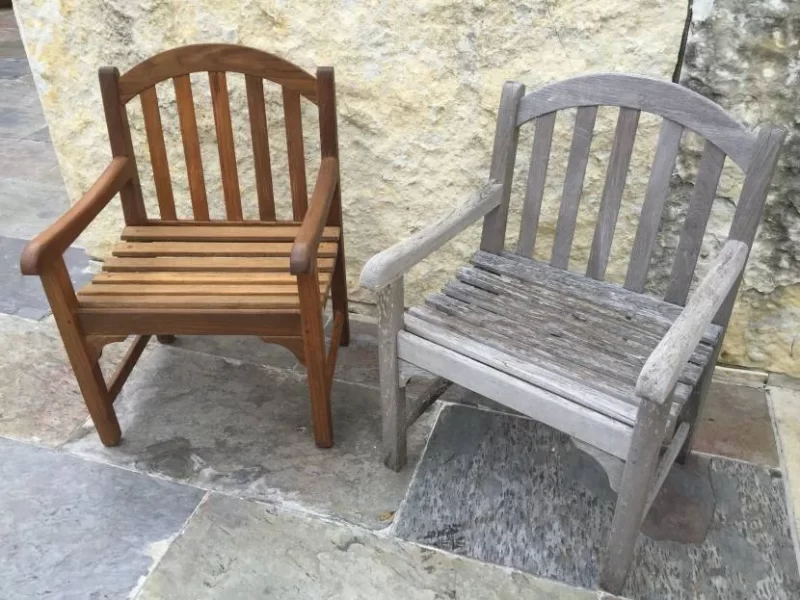
Refurbishing old furniture involves a step-by-step process on how to paint it white, covering everything from surface preparation and paint selection to application techniques. However, certain crucial details that streamline the procedure and enhance the outcome are often overlooked. Here are some valuable tips:
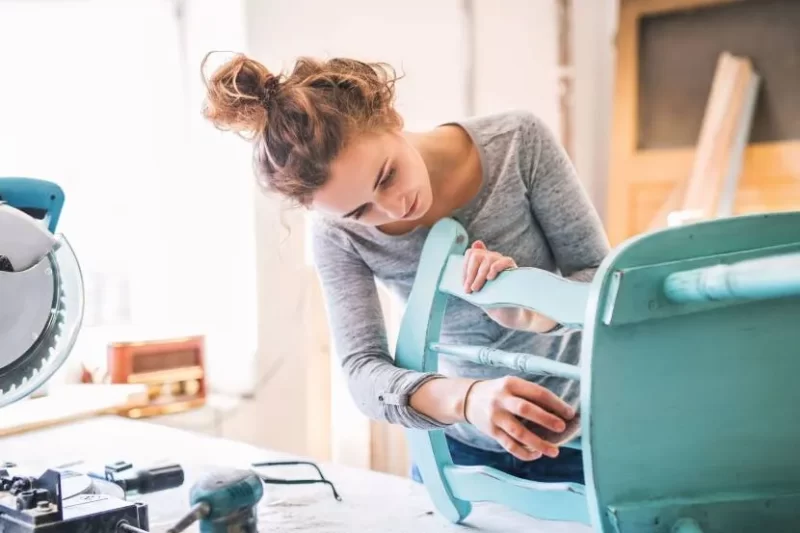
- Varied Brush Sizes: It’s advisable to stock up on brushes of different sizes (thickness). While a spray gun makes it easy to cover broad areas and decorative components, having a selection of brushes allows for precision in different sections.
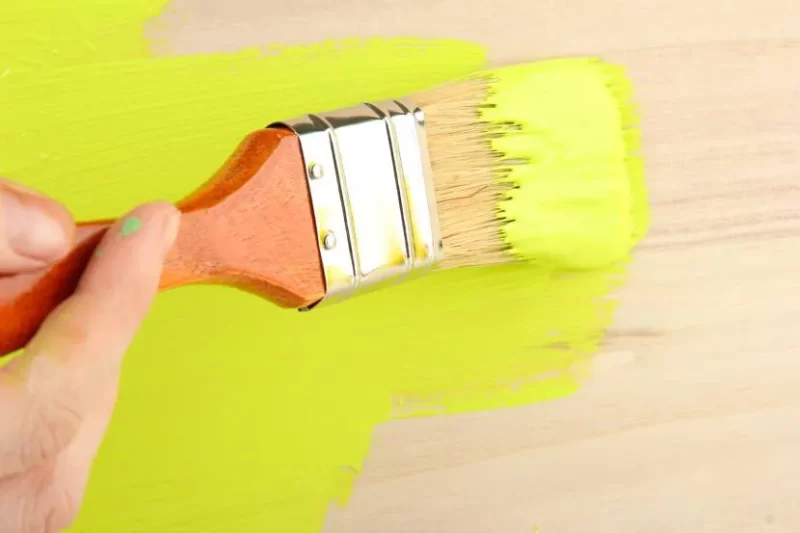
- Smooth Strokes Along Fibers: When painting the wooden surface, use smooth strokes along the fibers. Dip the brush into the paint jar no more than a third of the way to achieve an even application and prevent excess dripping.
- Protecting Accessories: If the furniture has accessories like handles or locks on the front, cover them with masking tape or remove them before painting to ensure a neat and polished finish.
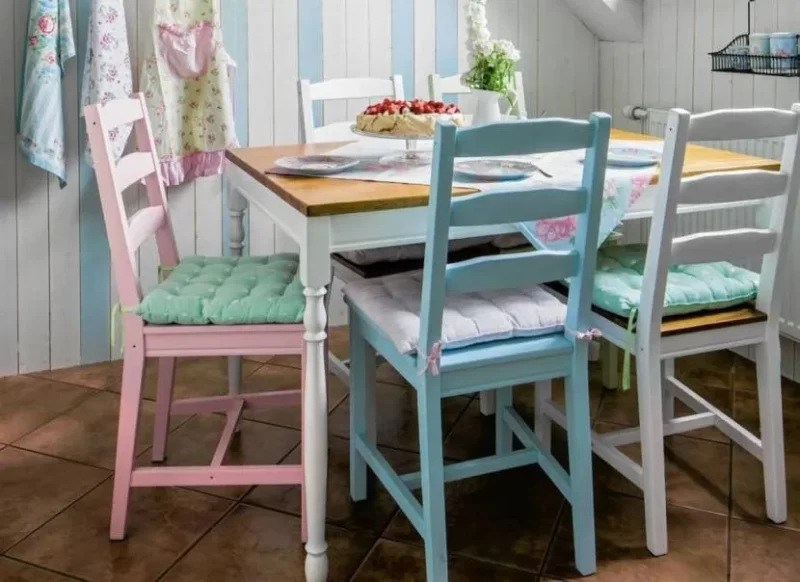
- When painting specific furniture pieces, such as a chair, aerosol paint may not be the most efficient choice for overall application. However, it proves practical when dealing with adornments or decorative components. Aerosol paint allows for quicker and more uniform color application to minor details than using a brush.
- To add intricate patterns to the wooden surface, spray paint and a stencil can be employed. A plastic lace napkin, for example, serves well as a stencil for creating decorative designs.
- Furniture with a retro or Provencal design can be enhanced with ornamental foam or polyurethane stucco. The decorative elements are glued onto the wood, and once the glue has dried, the entire product is painted.
- For a neat workplace, masking tape proves to be a valuable tool, preventing excess dye from reaching areas of the furniture that are not intended for painting.

I joined Appartenville in February 2021 as a content editor. After studying English literature at university, I worked as an e-commerce website editor, content author, and purchasing intern for several independent luxury and lifestyle retail companies. My role at Appartenville combines my love, experience, and passion for the world of design and the desire to create inspiring written content. As for my personal style, I am a big fan of color and drawing, especially I like the pastel color scheme. I also enjoy discovering new trends, brands, and products, whether it’s fashion, interior design, or lifestyle my wish list for buying new things is endless.
Leave a Reply